


Are you fed up with having to constantly replace your favourite leather belt because it keeps breaking? Have you tried all sorts of techniques that didn't work, and are now wondering how to repair a broken leather belt the right way?
Well, worry no more! In this blog post, we will look at some simple yet effective tips on mending a broken or cracked leather belt that you can use in just a matter of minutes. So, let’s get started and learn how to repair your beloved accessory today!
Step-by-step Guide on How to Repair a Broken Leather Belt
1. Collecting the Necessary Supplies
Collecting the necessary supplies is an important first step in repairing a leather belt. This includes gathering the items needed such as a needle, thread, and scissors. Additionally, you may want to use an all or some type of hole punch for reinforcements if necessary. With all of these components ready to go, you can begin with ease on your repair project.
Having the right tools is essential when it comes to making sure that your repair job turns out well.
2. Repairing Holes in the Strap
This process involves cutting out the damaged area and replacing it with new material to make sure that the hole doesn't reappear.
First, carefully measure and mark off where you need to make your cuts, so you don't risk snipping away too much material. After carefully making your cut, use an adhesive such as super glue to affix the replacement piece onto the old one.
Once dry, sand down both sides of the joint to create a seamless transition from one piece to another.
Finally, apply leather conditioner on both sides of your newly repaired strap for added protection against further wear and tear. With these simple steps, even novice DIYers can repair their leather belts without having to spend money on costly repairs!
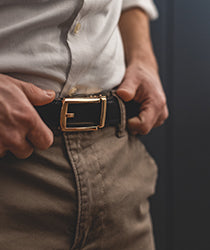
3. Replacing an old buckle
The first step in replacing an old buckle is to choose your replacement buckle. Start by measuring the size of the interior hole of the existing buckled so that you can find one that will fit properly once attached.
The second step to repair a leather belt when replacing an old buckle is cutting off the remaining parts from around your current one. This part should be done carefully since you don’t want to risk damaging any other areas of your belt while removing it. Utilize sharp scissors or another appropriate tool as needed during this process until all pieces are safely removed from view.
The third step is attaching the new replacement with super glue in order to adhere it securely into place on your belt. Carefully apply enough glue along both surfaces before pressing them together firmly and evenly until the secure connection has been made between the two pieces - do not use too much since excess glue could leak onto other areas and affect the overall quality of the product afterward!
Finally, sealing around edges helps ensure everything remains in its rightful position over time - start at corners first then work way down towards endpoints being sure not to apply too much pressure during this stage either because any additional pressure could cause damage and weaken structural integrity even further if done incorrectly! After completion test for strength by pulling gently (not tugging) at each side; make sure there's no slipping or slipping which might indicate the need for more gluing/sealing beforehand before wearing again safely out again in public afterward!

4. Refinishing Edge/Stitching
After cleaning the excess glue and threads, you will need to determine where you want your stitched line. This can be done by using a ruler and drawing a pencil line on the belt. Next, use an awl to punch small holes along that marked line on either side of the leather belt. This is essential for creating stitches that will help hold together all strips of leather in one place.
Once those small holes have been punched into both sides of the belt, it’s time to start stitching! Take a needle with a string attached to it and thread it through one hole from one side and then out through another hole from the other side making sure that stitch marks are neat in size and form consistent lines as much as possible. Then repeat this process until all stitches have been made along the entire marked length of the belt.
Finally, tie off your last knot at the end, cut any extra thread, and boom! You now have Refinished Edges/Stitching completed successfully on your leather belt repair project!
Tips On Prevention & Care Of Belts
Belts are an important fashion accessory for both men and women, so it's important to take care of them to keep them looking good. Here are three tips on the prevention and care of belts:
1. Store your belt in a safe place - Avoid storing your belt near anything rough or sharp that might snag the surface or cause damage. If possible, store it in a cloth bag away from dirt and dust.
2. Clean regularly – Make sure you wipe off any excess dirt or grime after wearing your belt by using a slightly damp cloth as well as a leather cleaner if needed.
3. Protect from sun & sweat – Prolonged exposure to sunlight can cause fading and cracking over time, while sweat can cause discoloration so avoid wearing it when swimming or exercising heavily!
Conclusion
In conclusion, fixing a broken leather belt is fairly straightforward and can be done with minimal materials and tools. With the help of this guide, you’ll be able to quickly repair broken leather belts in no time! The key is to make sure you use quality craftsmanship when taking apart, cleaning up, and replacing old parts with new ones. Be patient, take your time, and soon enough you will have a fixed-up leather belt that looks good as new.
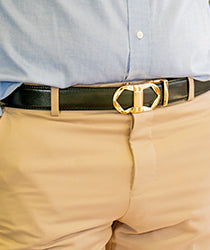
Another Suggestion: Try Ratchet Belt

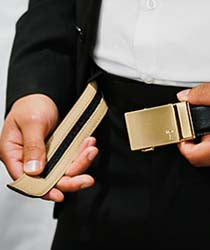
If you're tired of constantly repairing your leather belt because the holes have worn out, I have a solution for you. Instead of sticking with a traditional belt, I recommend trying out a ratchet belt.
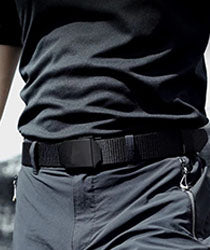
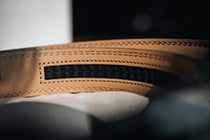
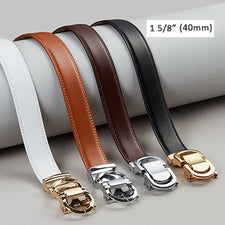
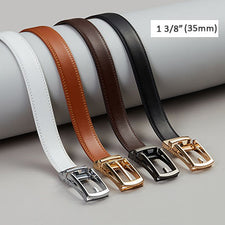
Ratchet belts use a unique mechanism that allows you to adjust the belt to the exact size you need without the use of holes. This means you won't have to worry about the holes wearing out over time and constantly needing to make repairs. Plus, they're often made with durable materials like nylon or leather, so they're built to last.
So, if you're looking for a more practical and long-lasting option for your daily belt needs, I highly suggest giving a ratchet belt a try. You might just be surprised at how much more comfortable and convenient they can be compared to traditional belts with holes.
Ready to dress sharp and command respect with the right accessory? Click here to discover Tonywell, the Professional Accessories Supplier.